
Chevron Home Office Makeover

We are coming to the last couple days of my Crazy for Chevron party. This week has flown by! Hope you've enjoyed the party, I will definitely have to try this again sometime. I'd love to hear what theme you'd like to see next time! Tomorrow I will finish things off with a round-up of my favorite DIY projects from other blogs and Pinterest.
Today's post was inspired by a get together with a couple of my friends. We had a Pinterest party and decided to make fabric covered cork boards. When we headed to buy some fabric, I knew I wanted to get something chevron! I went back and forth between the pink print and the red. I love pink, but decided to try something different and went with the red.
I had extra fabric, so after the party I started going a little "chevron crazy" and covering other items in the office as well! Our project definitely inspired me. There's a lot more I want to do to our office space, but these accent pieces made a big difference! Here's how I got started, though.
Fabric Covered Bulletin Board materials:
- Cork bulletin board
- Modge Podge
- Paintbrush
- Glue Gun
- Fabric
Fabric Covered Bulletin Board instructions:
- Cut fabric down to just over the size of the bulletin board
- Cover front of cork bulletin board with a layer of Modge Podge (this just helps it stick better to the board, you wouldn't have to do this step, but it sealed the fabric to the board)
- Turn board over and stick in the center of the back of the fabric
- Fold the fabric around the back and wrap like a present

- Glue the flaps sides down to the cork board
- Let dry

Sorry I didn't get a lot of pictures, we were busy talking and I forgot to take some!
Once I got home I put the bulletin board in our office space. We haven't really gotten it all set-up, so it added a cute touch. Then I got to thinking, maybe I could make some additional pieces for the room, I still had some material left.
The next thing I decided to tackle was a mousepad. I had an old mousepad that had pictures printed on it, but it had definitely seen better days. The photos had faded and there were cracks in various spots, it definitely needed a little help... I decided to give it a face lift by using some of the leftover fabric! I did get more pictures for this makeover.
DIY Fabric Covered Mousepad materials:
- Fabric
- Mousepad
- Glue gun
DIY Fabric Covered Mousepad instructions:
- Cut fabric down to just larger than the mousepad
- Place mousepad down on fabric
- Hot glue the two sides down on the mousepad

- Cut slits in the four corners
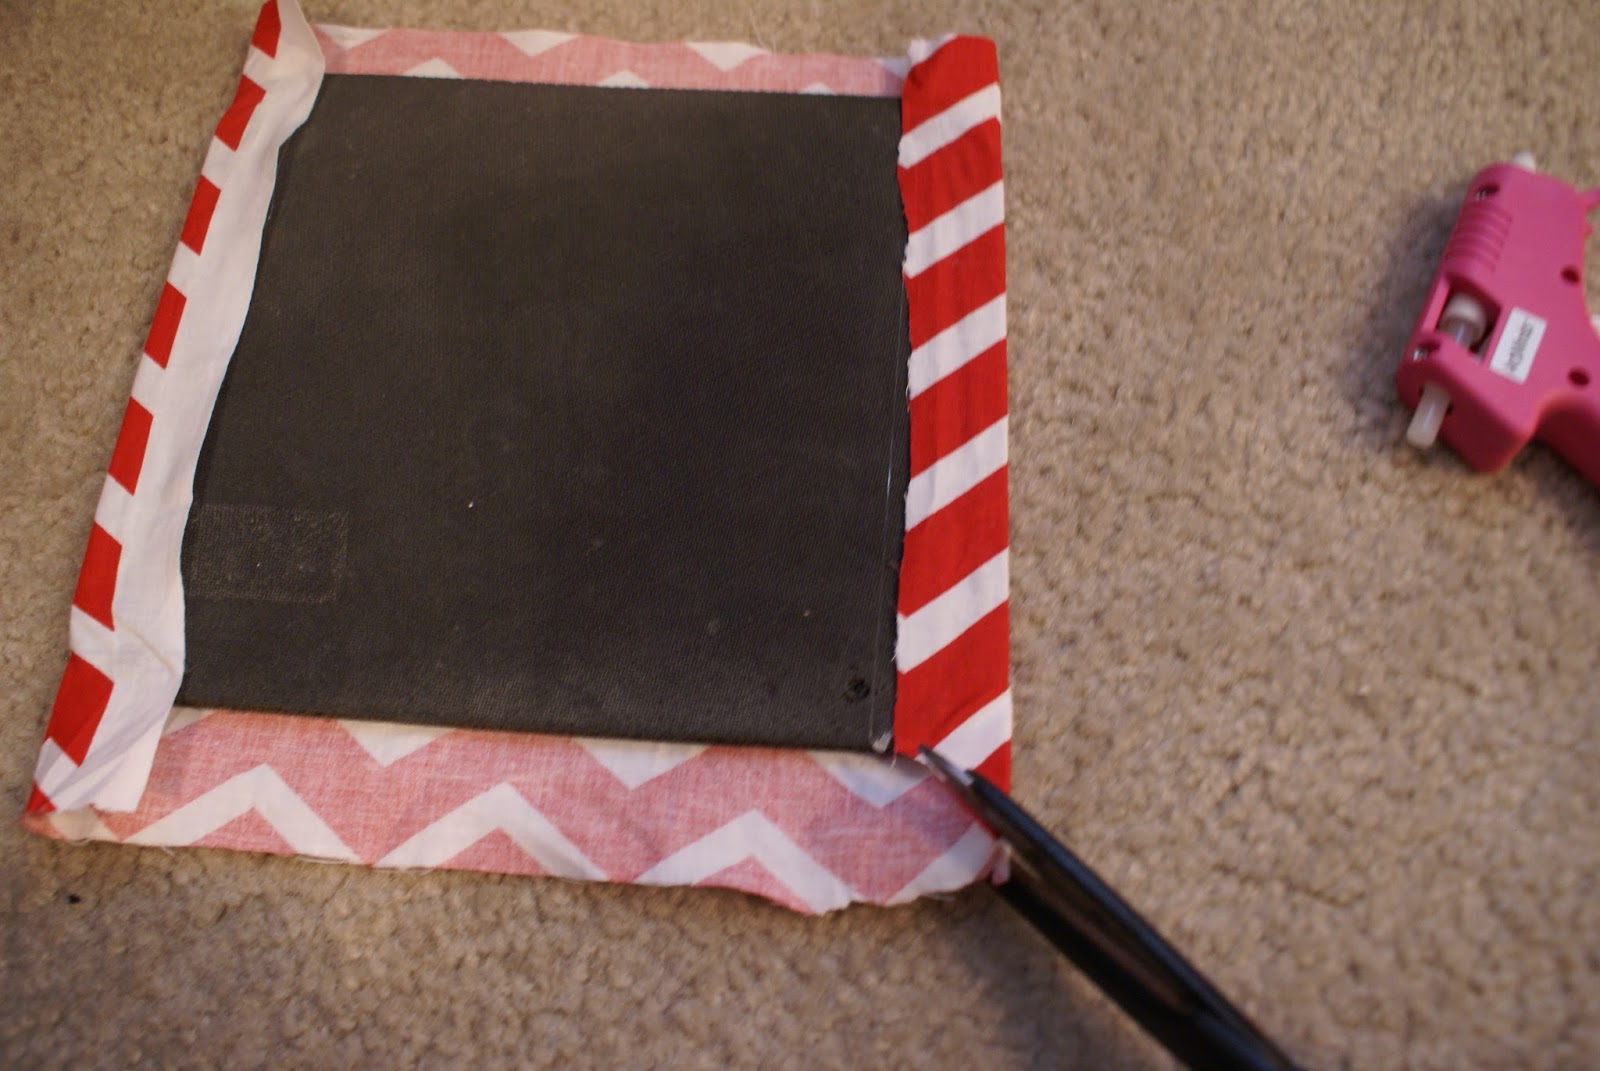
- Glue down corner flap

- Glue down top and bottom flaps

- Let dry
I finished out the fabric by covering a mail organizer I had. I glued a piece of fabric onto the front, and then covered a piece on to the back piece of the mail organizer.
Here's the final pieces individually, as well as all together in the space. We're still renting, so there's not a lot we can do to the walls. I can't wait until we have our own house again and can paint! But for now, I think these pieces add a cute touch to the area!

New Chevron Mousepad

Updated Mail Organizer

New bulletin board - hard to see but I found cute polka dot push pins for it!
And here's the final look! Like I said, we have a lot more we could do, but this is a cute start!

Come back next week as I kick of a two part series on ladybug cakes/cupcakes. I've also got some fun recipes to share!
Feel free to share this party on Facebook, Pinterest, Twitter, etc. Here is my button for the party:

<a href="http://sarahlynnssweets.blogspot.com/search/label/crazyforchevron" target="_blank"><img src="http://farm3.staticflickr.com/2864/9430735589_cc579cbb4f_m.jpg" alt="Crazy for Chevron" width="250" height="250" /></a>

