Sweet Treat for Your Blog: Bunting Banner
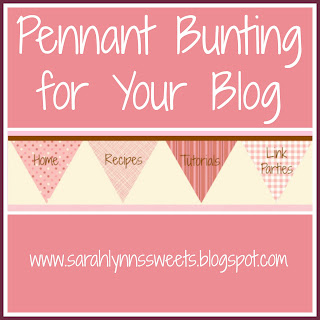
Today I have a sweet treat to share, but it isn't something to eat! I am sharing a tutorial for a bunting banner for the blog. You may have noticed some new features on my blog. I gave my blog a semi-makeover including a bunting heading and new buttons.
New features for my blog
This bunting adds a creative touch that helps to personalize your blog! I created it easily using free software. It was a detailed process, but simple to do.
I started the banner by creating a 750x112 sized collage in PicMonkey. I needed six pennants, so I created six photo squares and filled them with various PicMonkey swatches.
I saved the collage and re-opened it in the photo tool of PicMonkey to edit the file. I then created triangle overlays in a light neutral color (same as the background of my blog posts). I centered each triangle at the seam between the boxes.
I continued creating triangles that I centered at each seam. I finished it by creating triangles for both ends of the banner. These triangles help form the pennants for the bunting.
After creating the pennants using the triangles, I cropped the picture down to have the points of the pennant at the button of the picture.
To finish the bunting, I created a long, thin rectangle out of a deep maroon color. This is to serve as sort of the rope for the pennants.
I then created text blocks and labeled each pennant with the various labels for the sites that I wanted shortcuts for. The bunting is going to have links to my home page, recipe list, tutorial list, link parties list, advertising page, and the contact me page. I centered text files on each pennant.
I saved the picture to my desktop as the highest quality file. I then used an online image mapping tool, Image Map, to create links for each pennant. I wanted to be able to click on each pennant and send it to the specific website it correlates to.
The Image Map website is really easy to use, you just have to follow a few steps. First, I uploaded the picture file and then clicked on "Start Mapping Your Image."
I created rectangle sections that dictate the area you can click in to go to a certain website. Once you define the section to click on, you enter the name you want it to be called, and the website it is to be directed to.
Finally, click on "Get Your Code" and copy the html code for your photo. Add your code to a script in the layout section for your blog. Update your code and save the changes.
Hope you enjoy this tutorial! This adorable pennant bunting creates a personalized touch for your blog.
Don't forget to follow my blog, or follow me on social media, to get all my updates!


