
Farm Cake - Part Two

Today I'm bringing you the second half of my two part farm cake series. If you recall, I was making a farm themed cake for my sister's father-in-law's 60th birthday.My last post, Part One, had tutorials for the horse, barn, and tractor used on this cake. This post is about how I put this cake together.
Besides the horse, barn, and tractor, I made a few other pieces in advance. I made a fence and the duck/pond. The fence was made once again using the Cricut Cake and brown Wilton Sugar Sheets, like I did with the garden smash cake. The pond was made using 1/16" thick rolled out blue fondant. I created the duck using yellow fondant, a small amount of orange fondant, and an edible marker.
Finally, here is how I put it all together. I had two eager little helpers that REALLY wanted to help with the cake for their "Pops." It took most of my attention working on the cake, and monitoring their help, so I didn't get a lot of pics along the way. But I think these instructions are pretty straight forward.


- A day or two before baking, cover a square 10 in cake board with green fondant. My rose smash cake post contains a tutorial for covering a cake board.
- Bake and cool an 8 in and 6 in cake
- If traveling with the cake stacked (more on that later), cut a small hole in the center of the smaller cake board, you will need a dowel rod to stick through it
- Place the large cake on the fondant cake board, centered and slightly toward the back
- Place the small cake on a 6 in cake board
- Make two batches of buttercream icing
- Move about 2/3 of the icing to another bowl and tint green
- Cover the larger cake with green icing and smooth out
- Tint the remaining icing blue
- Cover the smaller cake with the blue icing, and smooth out
- Use a dab of icing to place the fondant shapes (tractor, pond, and horse) on the cake board
- Place fence around cake
- Using the "grass" tip (Wilton tip 234), pipe green grass around the edge of the cake and around the horse, tractor, and a little around the pond


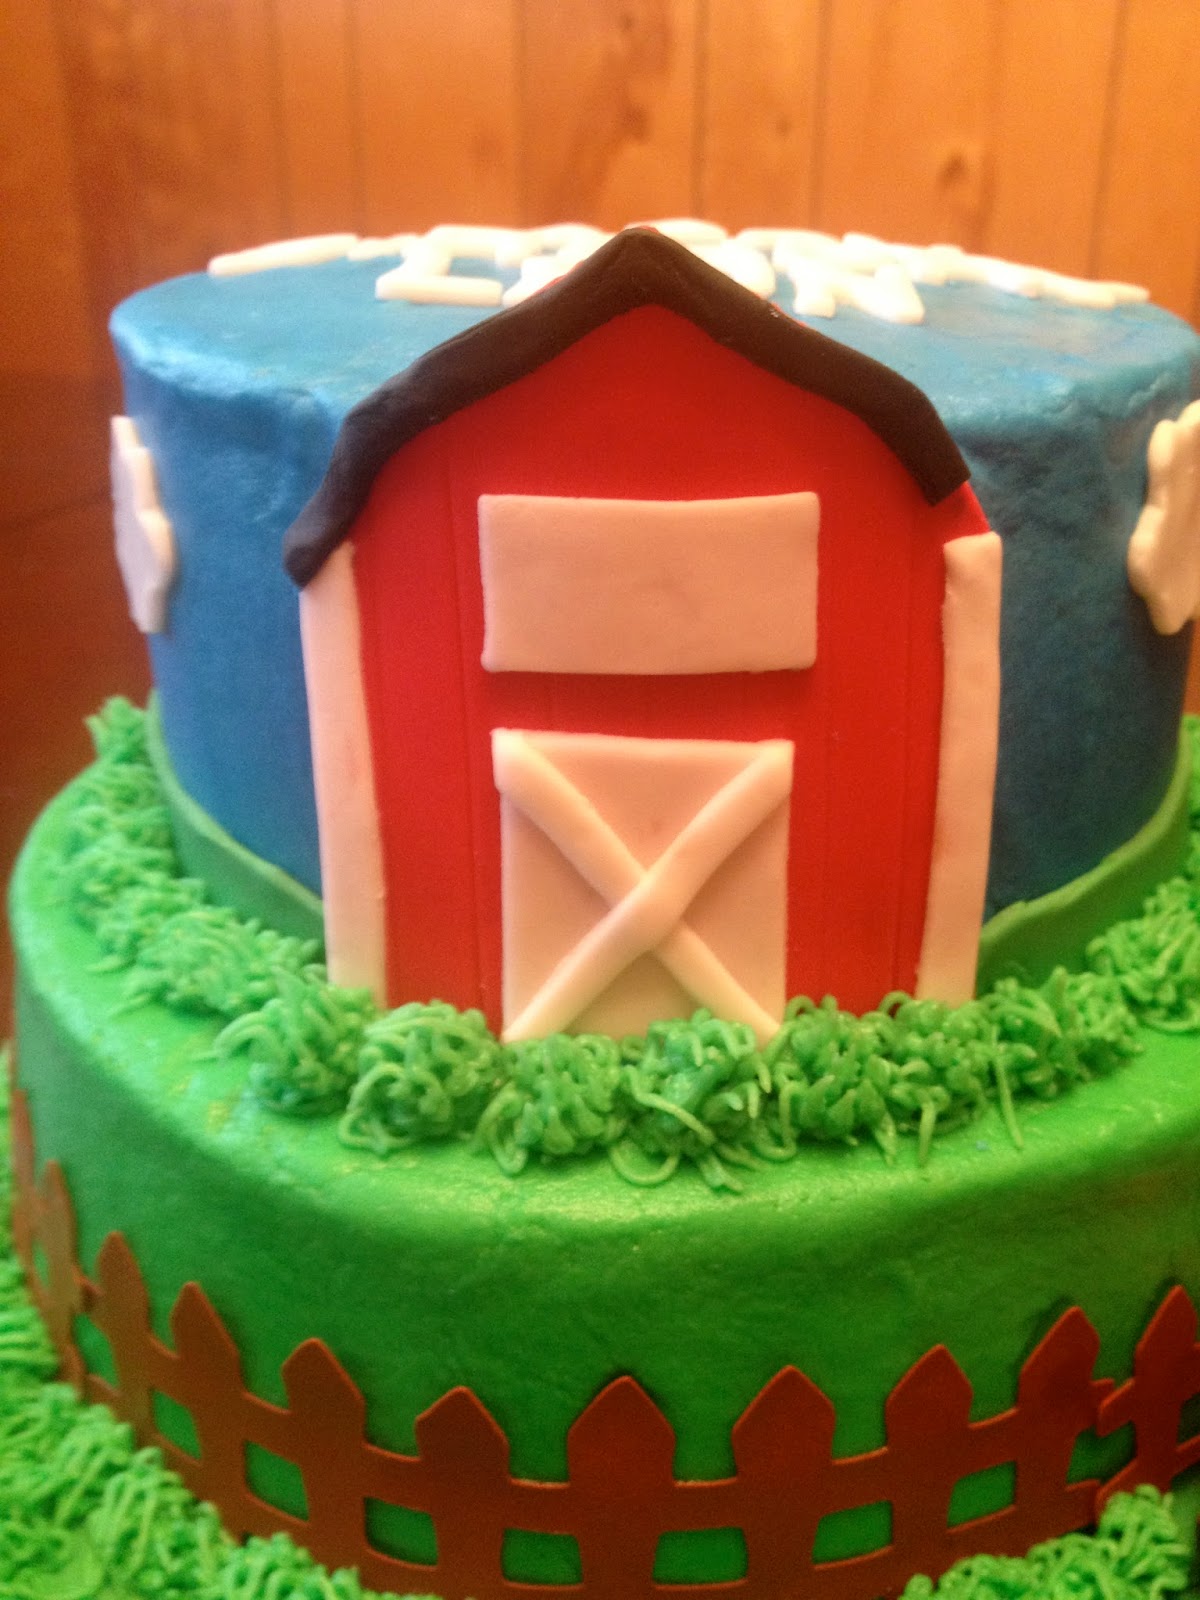
- Place the barn on the front of the blue cake in the center, apply a little water or fresh icing on the back of the barn to make it stick better
- Using a cookie cutter (or Exacto knife), cut out "Happy Birthday" in white fondant and place on top of the blue cake

- If you can assemble at the location and work on it the day of the party, stop here for the night. If not, let it sit for at least a half hour and then continue on
- Cut a dowel rod down into four equal pieces the height of the BOTTOM cake
- Place these four dowel rods in a square shape, each around 2.5 inches from the center (you want them to sit within the smaller 6 inch cake)
- If traveling with it stacked (not recommended but necessary for us), place one larger dowel rod at the center of the cake, sticking out. If not traveling, place a dowel rod in center, but cut to be the height of the cake
- CAREFULLY, place the small cake down on the large cake (let dowel rod slide through hole and into cake if traveling)
- Roll out some green fondant around 1/16 in thick
- Cut out some strips to look like a landscape (flat or some slight rolling hills) and put around the bottom edge of the small cake, this will cover up any gaps or openings between the two layers
- Pipe some leftover green icing to look like grass in front of this green fondant, if desired
- Finish off cake by cutting some small cloud shapes and place on the blue cake (put a few drops of water on the back of them to get them to stick to the cake)

Hope you enjoyed this cake and tutorial series! I have some other posts coming up with tips and tutorials for baking and fondant work. If you have any questions, or topics you'd like to see discussed, feel free to email me or leave a comment here! I'd love to hear from you!

