
DIY Coasters

I mostly bake and work on recipes, but occasionally I like to exercise my crafty side! My latest project is to make some coasters using ceramic tiles. I found funny kitchen and food related sayings and decided to turn them into coasters that are functional and decorative. I love playing around with the photo editing software PicMonkey, so I had a blast creating my designs for the coasters. I'm constantly trying to come up with DIY pieces I can incorporate into our home decor, it adds such a personal touch.
This project is simple, and cost me less than $2! I already had some Modge Podge, so all I had to buy were the eight ceramic tiles. I found these at a local hardware store for about $0.16 a piece! The great thing about this project is that it can be as customized as you want, completely personalized to your taste. You could create coasters with photos, memos, quotes, pictures, etc.
I decided to go with a kitchen/baking/food theme for my coasters. I enjoyed working in PicMonkey and creating the pictures I was going to use for them. I could spend hours just playing around with different clipart (in PicMonkey as well as on other sites), backgrounds, fonts, etc.
Here's how I made the coasters, and what you need to make them.

DIY Coaster supplies:
- 4x4 ceramic tiles
- Bottle of Modge Podge
- Paint brush
- Pictures, magazine clippings, scrapbook paper, print-outs, etc to decorate coasters
- Scissors
- Newspaper or paper towels (to place under tiles to keep surface where you are working clean)
DIY Coaster directions:
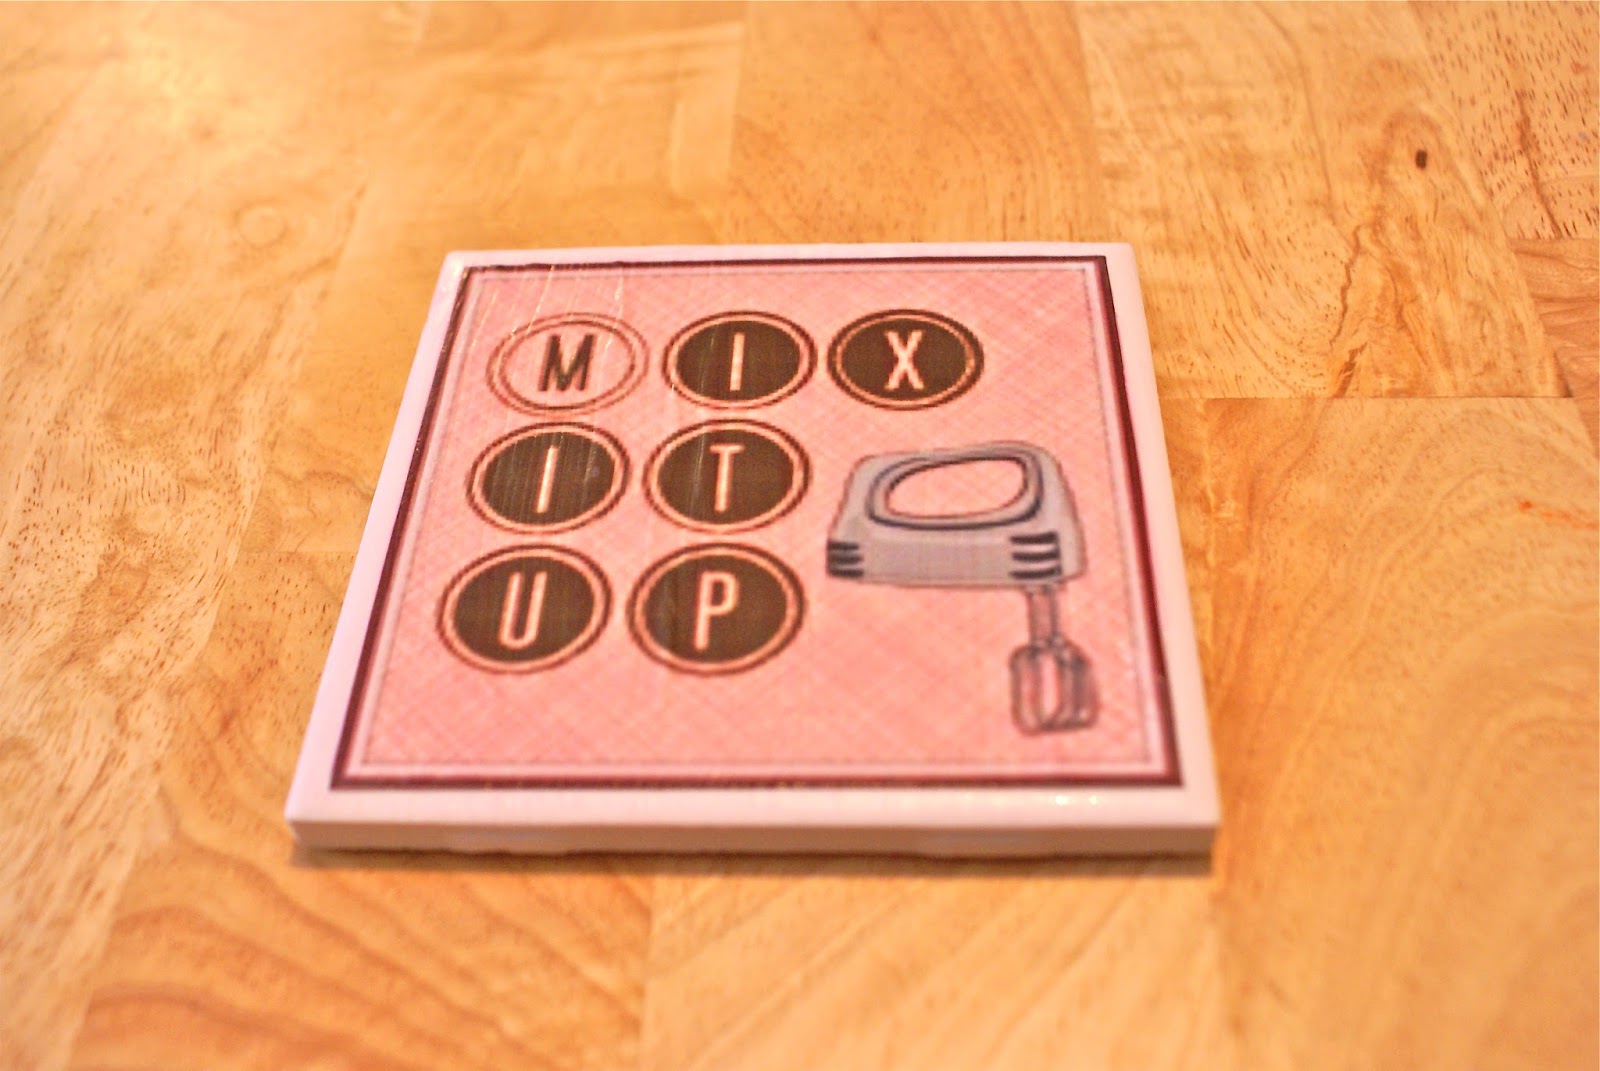
- Start by deciding what you want to use to decorate the coasters. You could print out photos, use a collage of magazine clippings, or you could create your own custom design using your favorite quote or saying. I used PicMonkey to create mine. Just make sure you use the correct dimensions. I created my 4x4 in designs incorporating funny food and kitchen sayings, along with some clip art.

- Print out the pictures

- Apply a coat of Modge Podge onto a ceramic tile

- Gently place printout on the wet tile

- Let dry for an hour

- Apply a coat of Modge Podge onto the paper

- Let dry completely, apply an additional coat, and then let dry again

I had a couple wrinkles in my paper, but overall I think they turned out cute! Here's the final pics of my eight coasters I made.


I'd love to hear about it if you try out this tutorial! If you missed any of my posts this week, make sure and check out my Mocha Brownies and my marshmallow fondant recipe!

